How to Change Resolution in the Amcrest Cloud
The resolution for your camera can be changed in the Amcrest Cloud using a web browser or using the Amcrest Cloud app. For more information on how to change resolution in the cloud, please refer to the information provided below.
Changing the Resolution Using a Web Browser
Step 1: On your computer, open a web browser and visit: amcrestcloud.com and log into your cloud account.
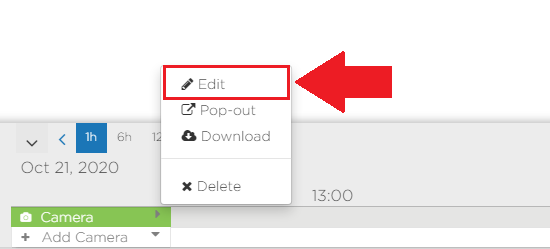
Step 2: Locate the camera you would like to update and click on the small triangle to access the Edit menu. Click on Edit.
Step 3: In the Edit Camera menu, locate the Resolution field and click on the drop box to select which resolution you would like. The cloud can currently handle up to 2688x1520 (4MP) depending on the resolution capabilities of the camera.

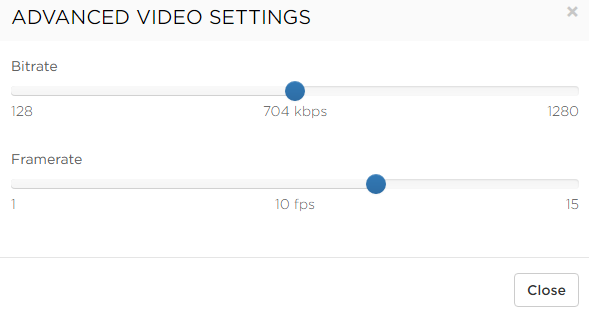
Note: Advanced video settings such as the bit rate and frames per second (fps) can be modified as well if needed by clicking on the settings icon ( ) located in the Resolution field. Use the adjustable sliders to set each criteria. Click Close to close this menu.
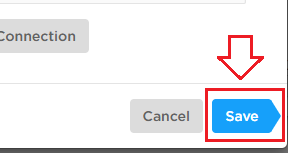
Step 5: Click on Save to save the resolution settings to your camera.
Changing Resolution Using the App
Step 1: Open the Amcrest Cloud app and log into your cloud account on your mobile device.
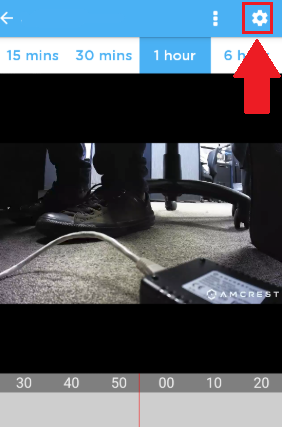
Step 2: Tap on the settings icon ( ) located in the upper right hand corner of the screen.
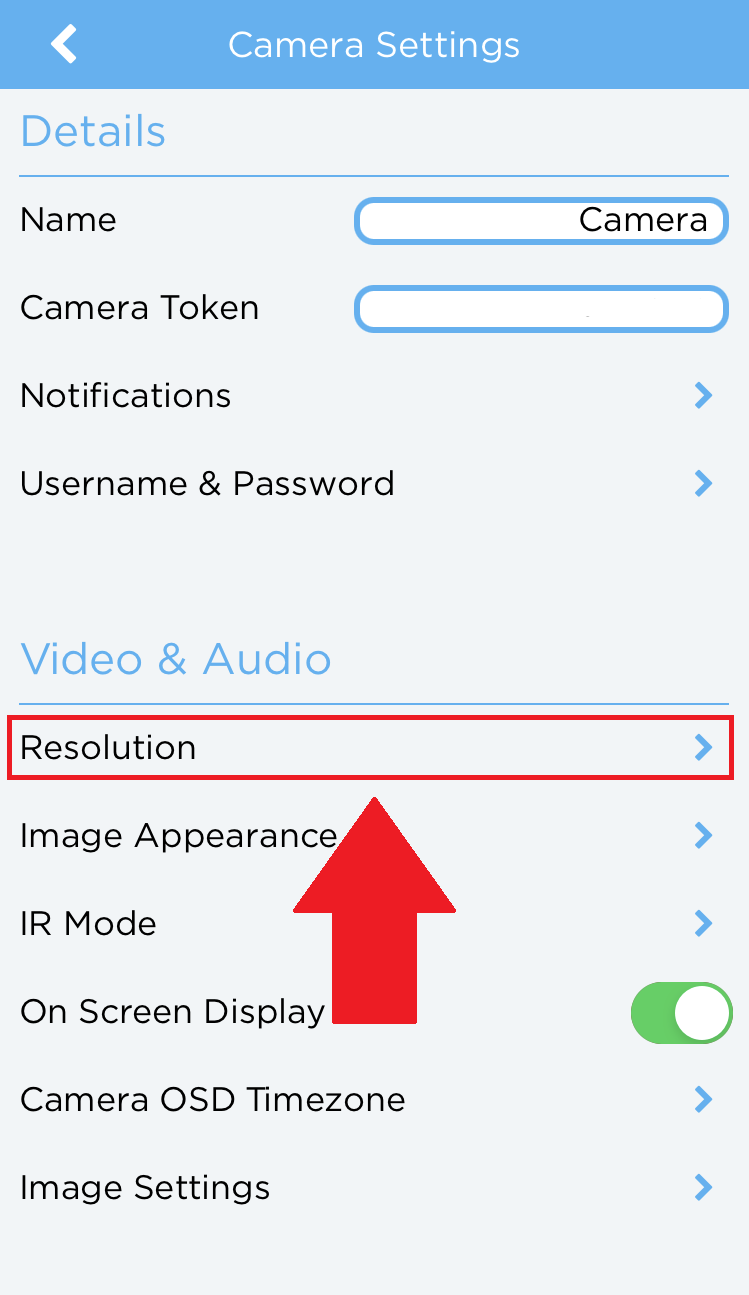
Step 3: In the Camera Settings menu, tap on the Resolution option.
Step 4: Tap the resolution you would like for your camera. The cloud can currently handle up to 2688x1520 (4MP) depending on the resolution capabilities of the camera.
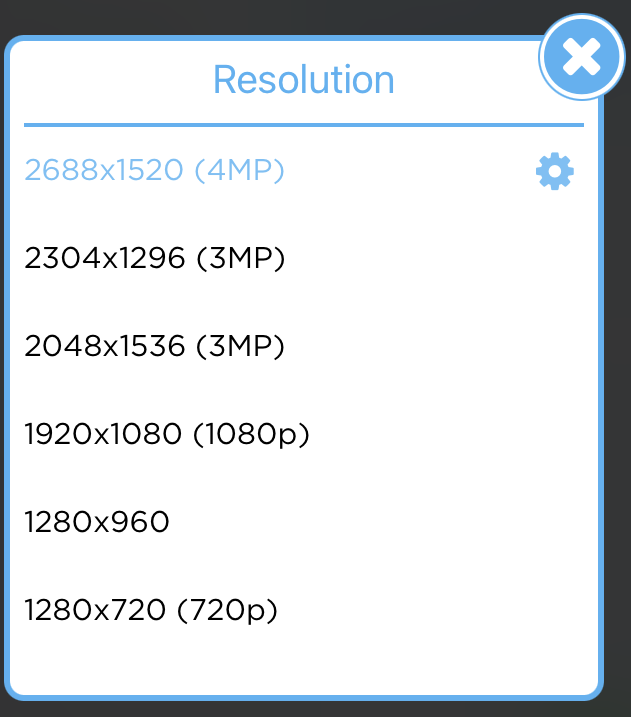
Note: Click on the settings icon (  ) located in the Resolution field and use the adjustable sliders to set each criteria. Tap in back icon to exit the interface.

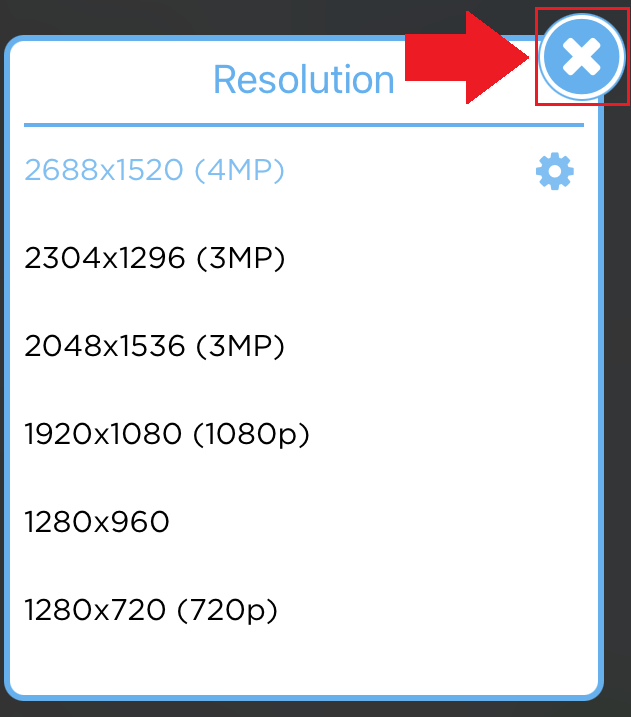
Step 5: To save the new resolution to your camera, tap on the "X" icon to save the resolution and return to the live view menu.
Comments
Please sign in to leave a comment.