Amcrest cameras have a variety of viewers available as well as storage types that are supported. One of which uses Amcrest Surveillance Pro desktop application. This article will cover connecting your camera through the application.
Download the Amcrest Surveillance Pro Software. To download the software, please click here.
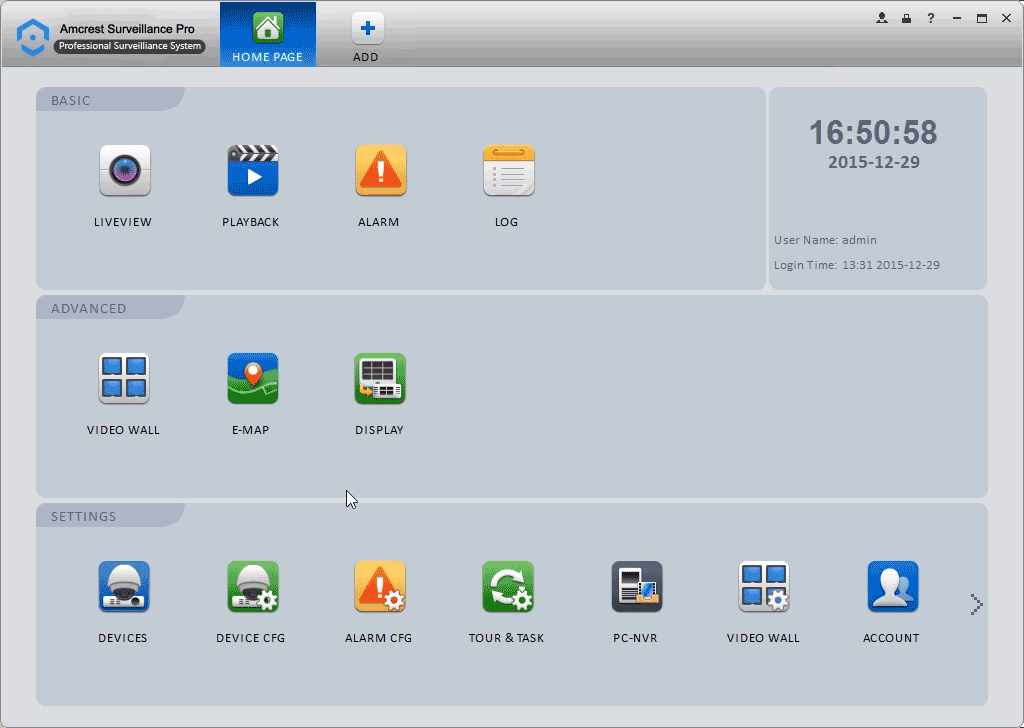
Once the software is successfully downloaded, the first step is adding the camera to the listed devices within the app.
Select "Devices" then find your camera listed in the "Online Devices" table.
Check the camera and click "Add".
The camera will now appear in the bottom table. In the "Operation" column select the pencil icon  .
.
Ensure that the username and password fields are correct. They will be set to default upon adding the device to the application's device list.
Click "Save" and await the connection to establish. (This may take a few minutes.)
After it shows that it's  you're finished!
After the camera has been added you can setup a storage device through PC-NVR within Amcrest Surveillance Pro to record video files directly to the HDD stored on your computer.
Also, you can view each of your cameras simultaneously through Amcrest Surveillance Pro through the Live View menu and other related software.
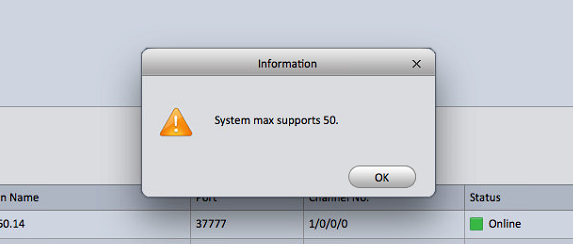
Note: Amcrest Surveillance Pro can only support up to of 50 devices in the device list.
Comments
Please sign in to leave a comment.