Access your camera from a remote location on a PC or Mac to view your camera’s live feed or review playback of any recorded media saved to a designated storage device. This article will show you how to gain remote access to your camera through Amcrest DDNS, Amcrest Cloud, and Amcrest View.
Using the camera’s internal web user interface you can set up a remote domain with Amcrest DDNS to access the camera from outside your local area network. If the router your camera is connected to does not support UPnP (Universal Plug-and-Play) there’s a chance you may have to port forward the camera’s HTTP, TCP, and UDP Ports.
For more information on how to port forward your device, click here.
After your cameras have been port forwarded, open up your camera with your internet browser of choice: Safari, Internet Explorer, or Chrome. For more information on how to access the web user for your camera click here
For DVRs or NVRs click here.
Remote Access on PC.
Step 1: Login to the web user interface for your device from your home network or LAN.
Step 2: Download the plugins to access the camera’s live feed. This will be useful in case you’re using is a laptop which require the plugins to be downloaded once connected remotely through Amcrest DDNS.
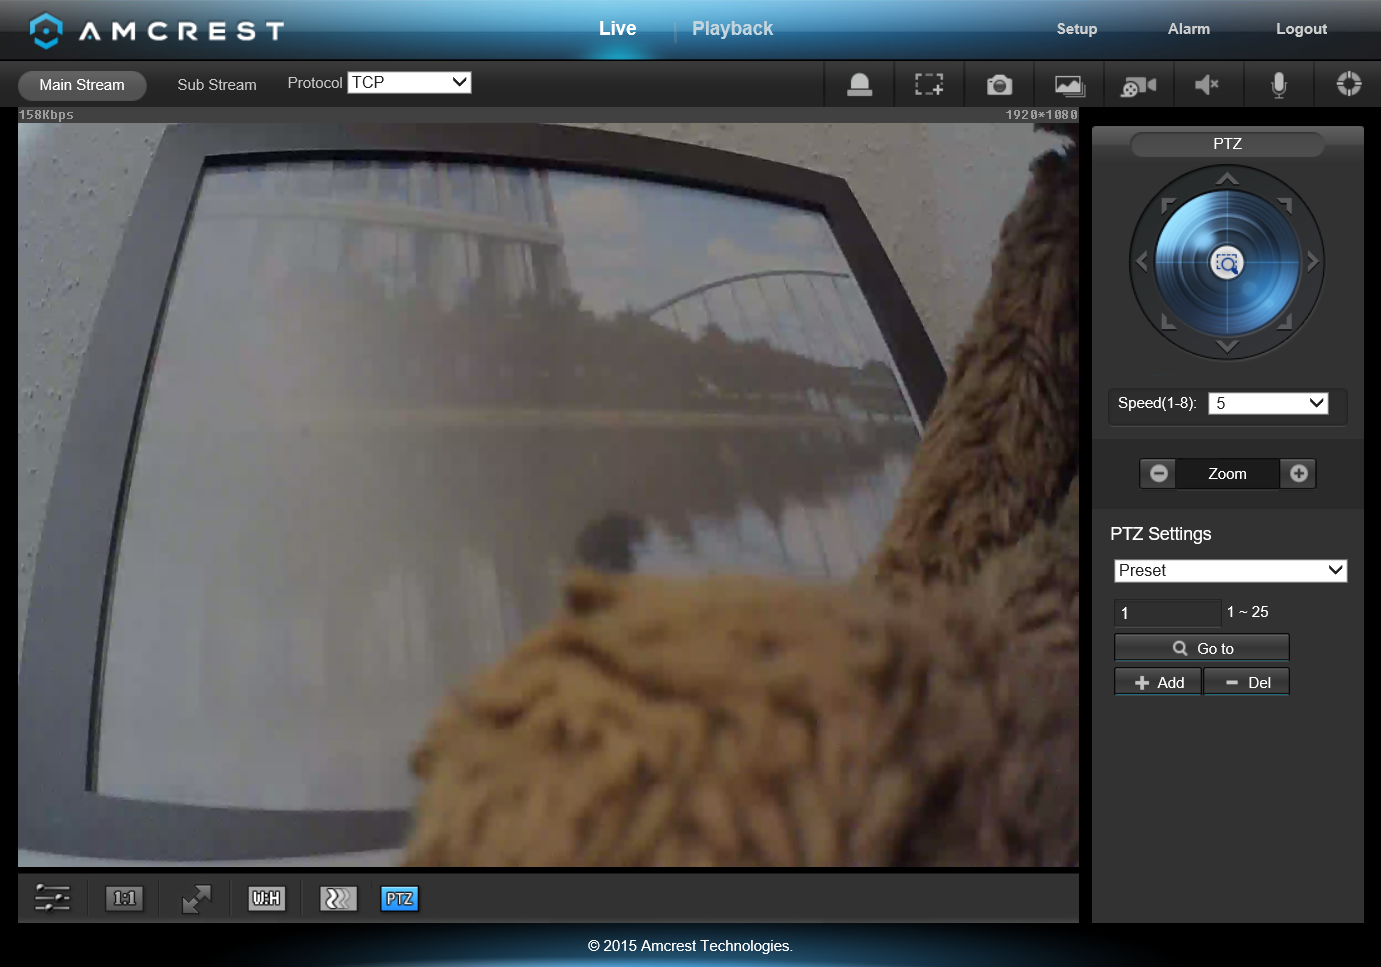
Step 3: Select Setup on the top right hand corner to access the camera’s configuration menu.

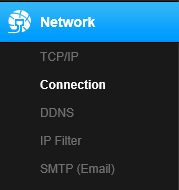
Step 4: This will load a set of tabs related to your device. Click on the Network menu and select Connection to access the port information for your device.
Step 5: In the connections menu, change the HTTP Port to something other than 80. Its has to be 5 numbers. For example 37776, 37779, 64523. Then click Save. After you click save, the camera will restart, allow the camera to restart and come back online.
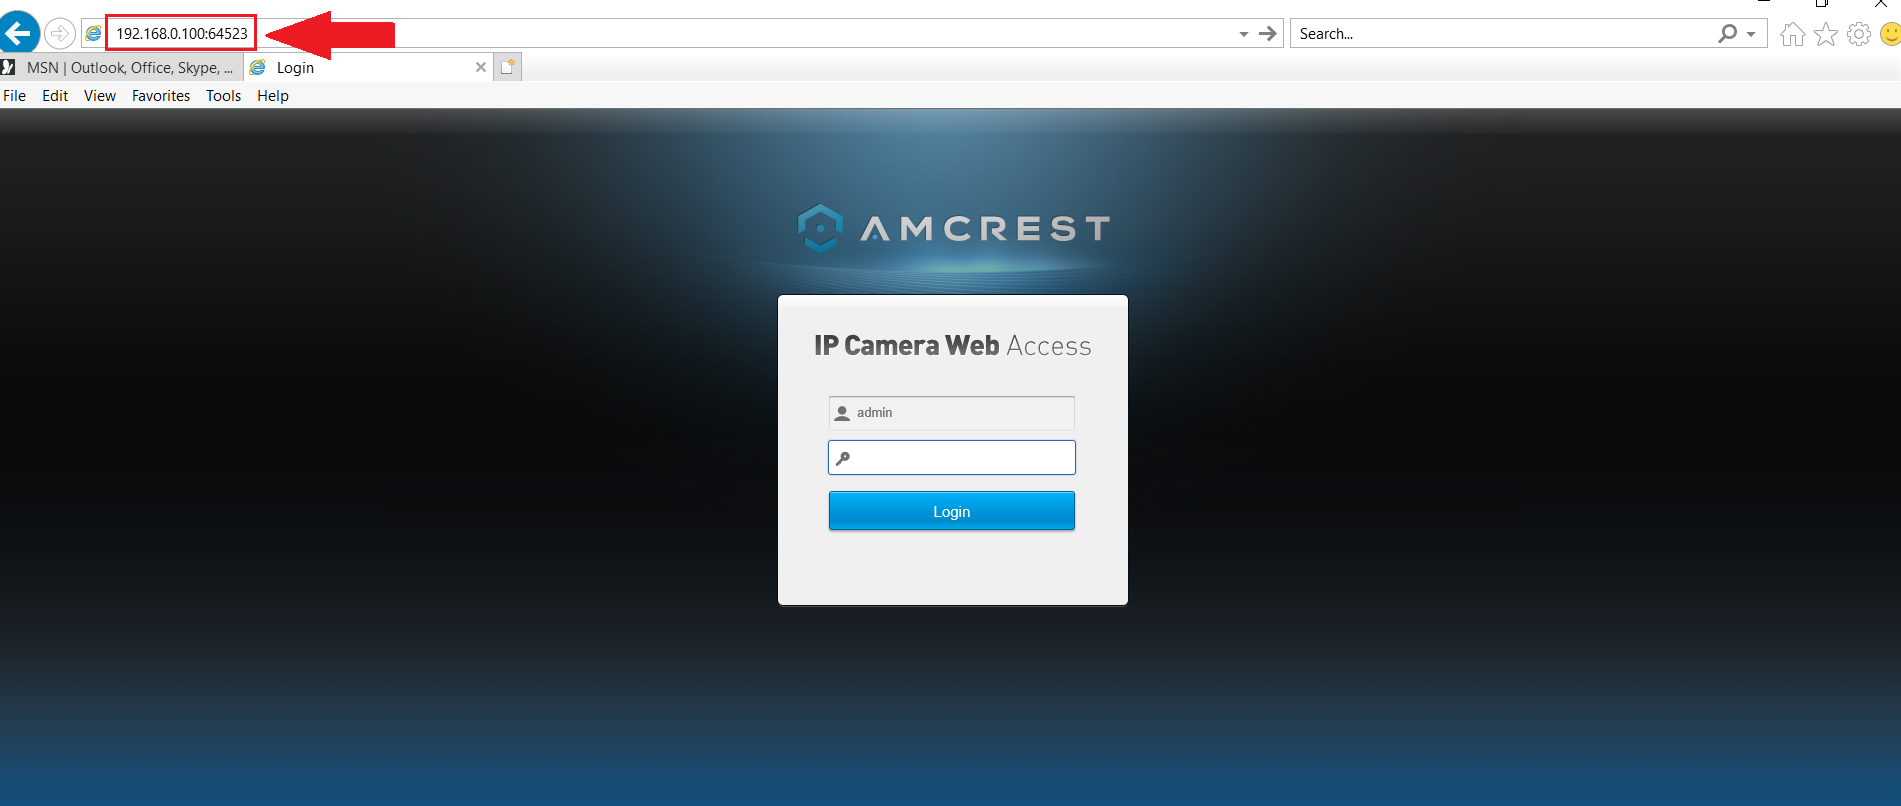
Step 6: After the camera initializes you will then have to put the new IP address of the camera in following the HTTP PORT. (example:192.168.0.100:64523). This will then bring you back up to your login screen of the camera.
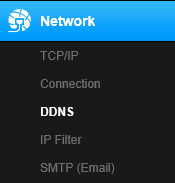
Step 7: For DDNS configuration, select DDNS under the Network tab from the navigation pane on the left of the configuration menu.
The DDNS tab will open.

Step 8: Enable the DDNS Provider checkbox in the DDNS menu. In the Domain field, enter the domain name you would like to assign for your device. For example, the following domain name could apply, amcrestuser.amcrestddns.com.
Step 9: Click on Save to save and apply the DDNS settings to your device. You can then log into the web user interface for your device remotely.

Remote Access on Mac
Mac users will follow the same procedure, however, you will need to also port forward your Apple AirPort through AirPort Utility tool on your desktop.
To find your Apple AirPort open your System Preferences from the dock or finder.
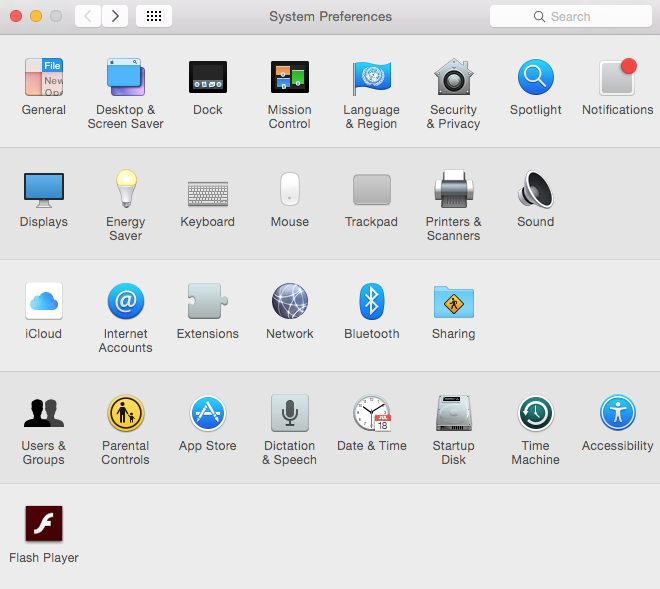
Select Network in the third row, fourth column of options.

Select the network your Mac is connected to such as Wi-Fi. Then select Advanced….
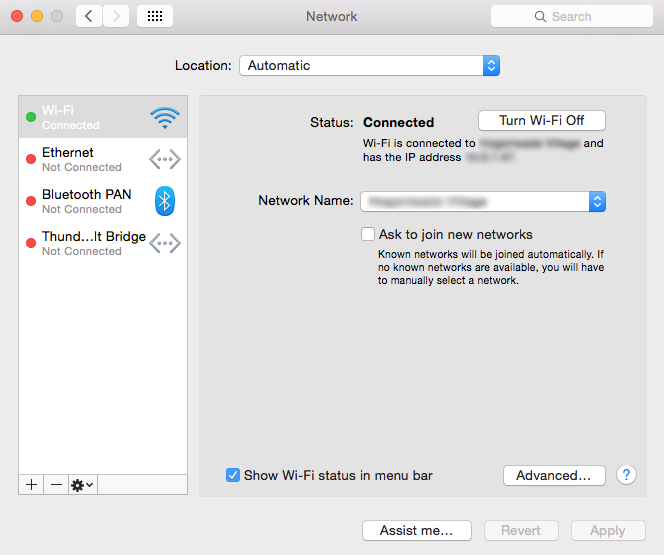
The Advanced configuration window will appear for Wi-Fi.
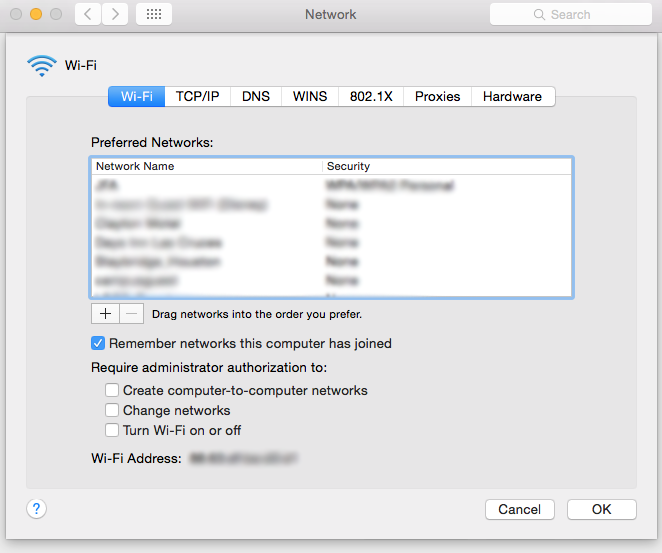
Select the TCP/IP tab to find your router information.
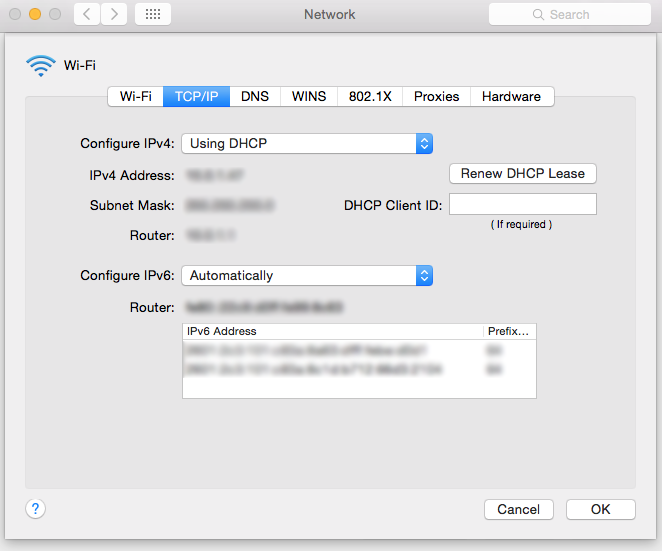
Although, if you have an Apple AirPort follow the guide below to port forward through the AirPort Utility application.
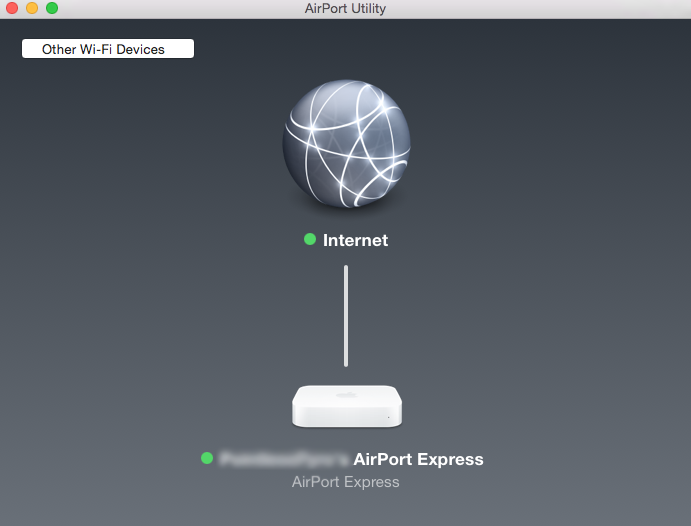
Click on the AirPort and more information will appear.
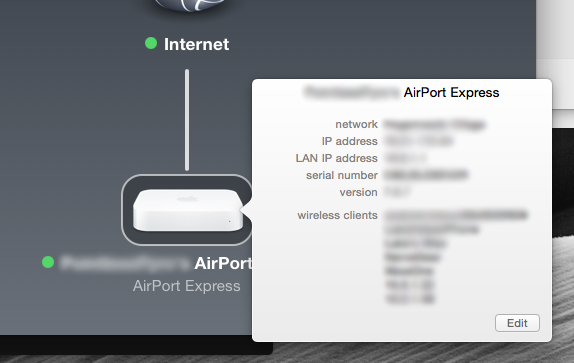
Click Edit to open the configuration screen for the AirPort you have selected.
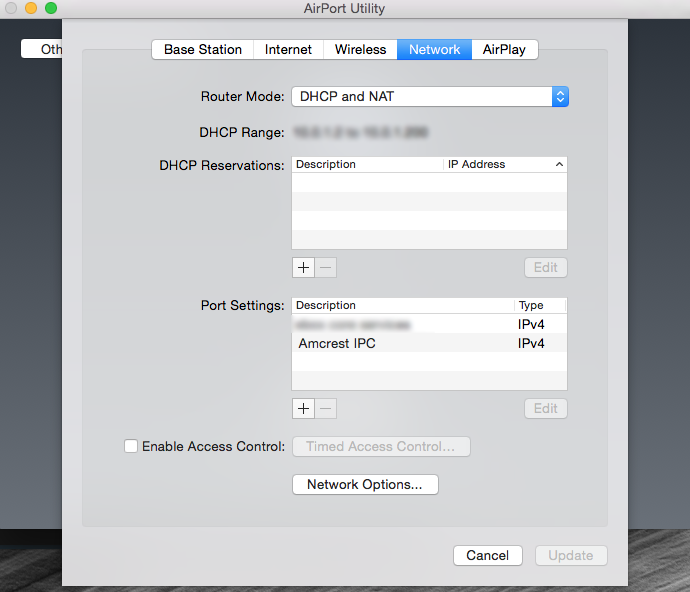
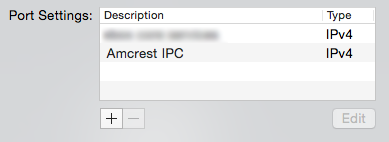
From here, ensure the Network tab is selected at the top. Under Port Settings click the + sign to create a new forwarding entry.
The Port Forward entry window will be displayed.
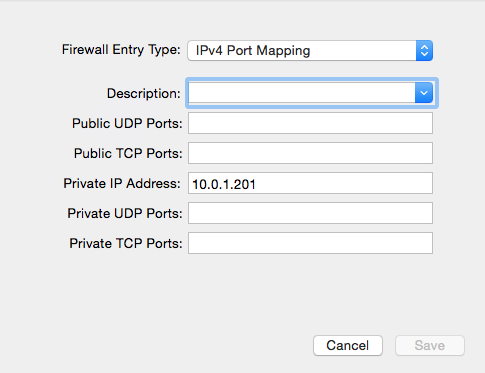
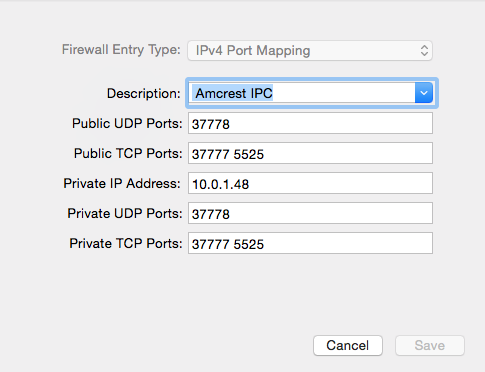
Under Description, give this entry a name such as Amcrest IPC like displayed below. Enter in the following ports you created from the camera’s Connection menu (examples shown below). The HTTP, TCP, and UDP ports will be required for Amcrest DDNS access. Ensure the Private IP Address is the local ID/Domain address of your camera.
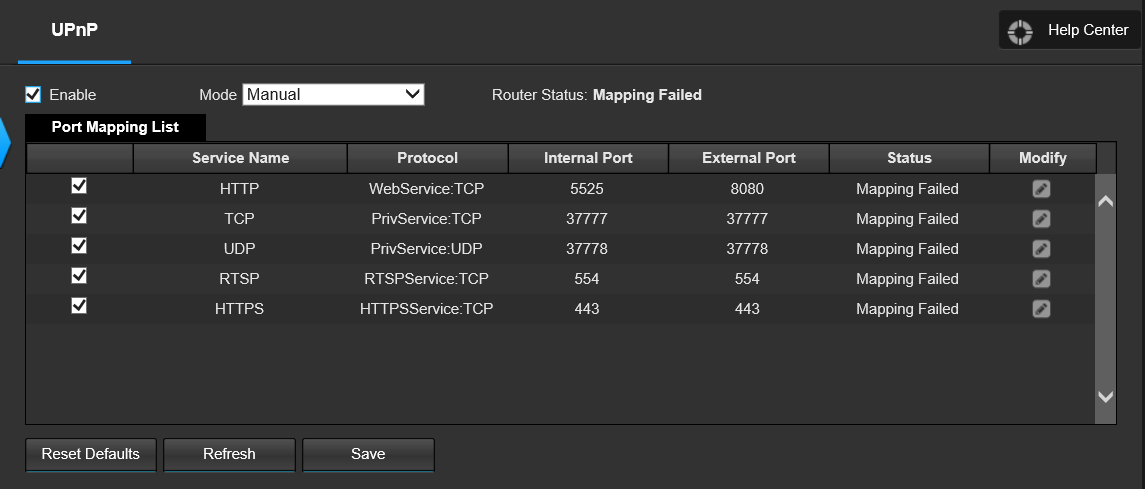
Connection tab from the Web UI:
Once you’ve entered in all the required information, click Save and allow the updates to be applied to your Apple AirPort Router. Once the updates have completed continue on to the next step.
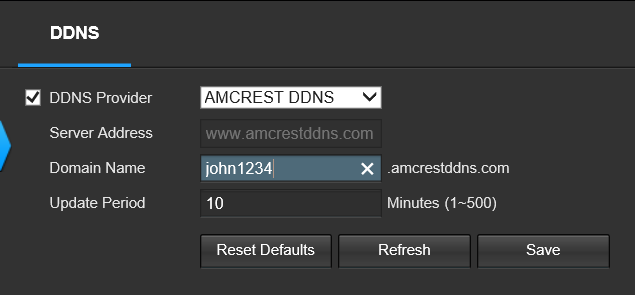
Now select DDNS under the Network tab from the navigation pane on the left of the configuration menu.

The DDNS menu will be displayed, from here enable DDNS Provider, as well as select Amcrest DDNS from the drop down menu. Enter in a custom domain name that will be used to connect to the camera from remote locations. With the ports selected in this guide for example:john1234.amcrestddns.com:5525. After all adjustments have been made click Save to apply the changes you’ve made. You will need to log back into the camera using the HTTP port you created.
You’ve successfully setup Amcrest DDNS for remote access viewing and playback of the selected camera.
Remote Access Using Amcrest View
Seamlessly connect your Amcrest camera through the internet using the Web View application www.AmcrestView.com

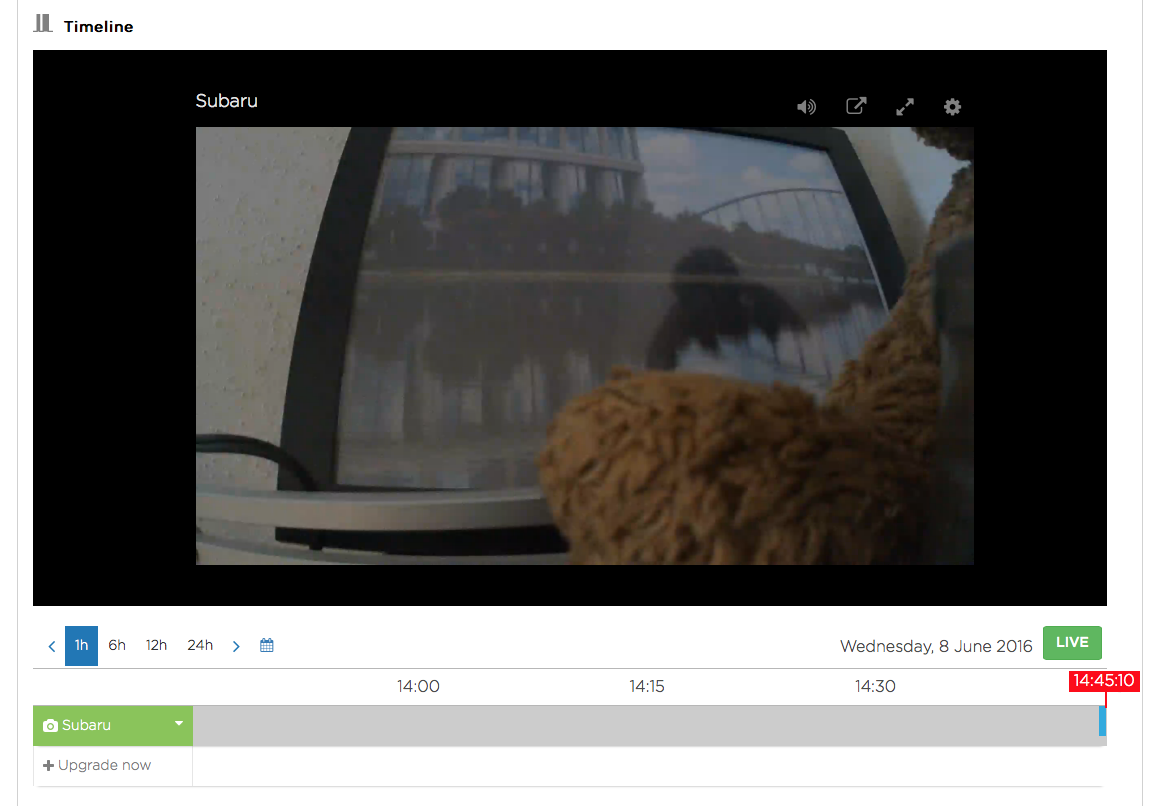
Remote Access Using Amcrest Cloud
Connect your camera to the cloud to store and review your video footage from anywhere on any of your devices at www.amcrest.com/cloud.
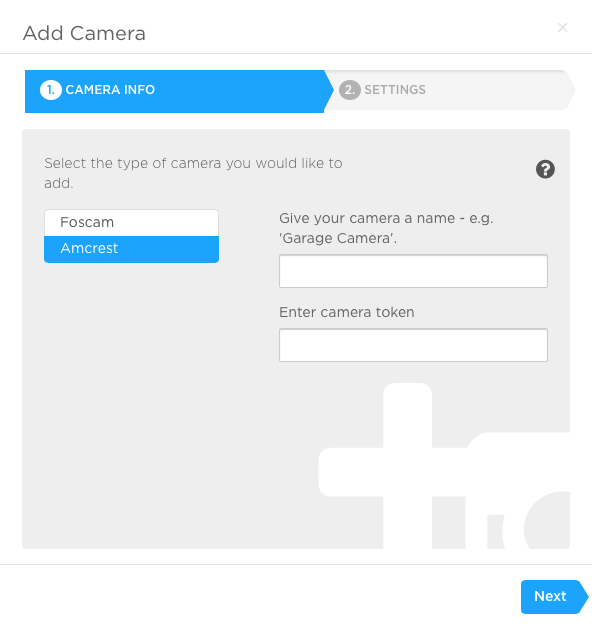
Start by clicking Let’s add a camera.

Select Amcrest as your camera, give the camera a name, and enter in your camera’s serial number as the token.
Click Next, then specify the quality type, sensitivity for motion detection events, notifications to be on or off, Motion Detection to be on or off, image appearance to be normal or sub-standard quality, and have the IR lights on or off, set to automatic.
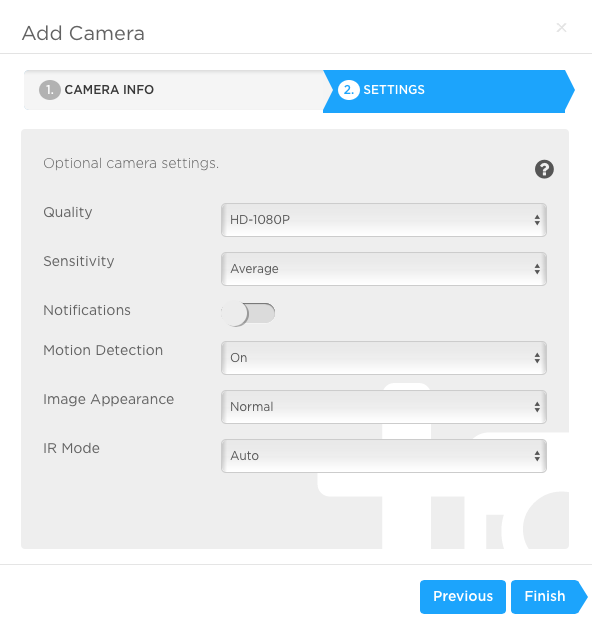
Click Finish. Your camera has now been added to your Amcrest Cloud account.
Comments
Please sign in to leave a comment.