Physical Installation (IP4M-1046E-AI)
Follow the steps and use the diagram in this section to install your camera.
Note: Prior to installation ensure that the installation environment can support at least 3 times the weight of the camera.
Installation Guide
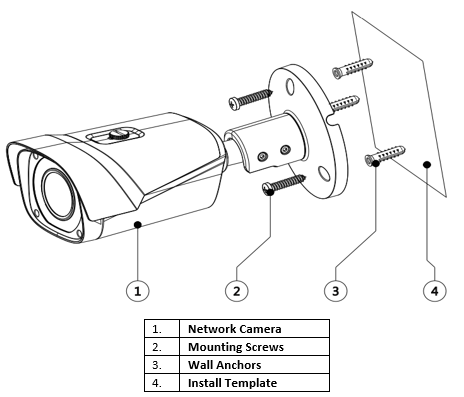
- Stick the installation sticker on the installation surface.
- Drill through the holes provided on the installation sticker. A 1” paddle bit can also be used if installing wires through an installation surface.
- Insert the included wall anchors into the newly drilled holes.
- Align the bottom bracket of the camera to the installation holes. Then using a Phillips head screwdriver, secure the camera to the installation surface.
- To adjust the camera up, down, or side to side, use the included torx wrench to loosen the lock and unlock bracket bolt on the bottom bracket.
- When adjusted, turn the lock and unlock bolt to secure the camera in place.
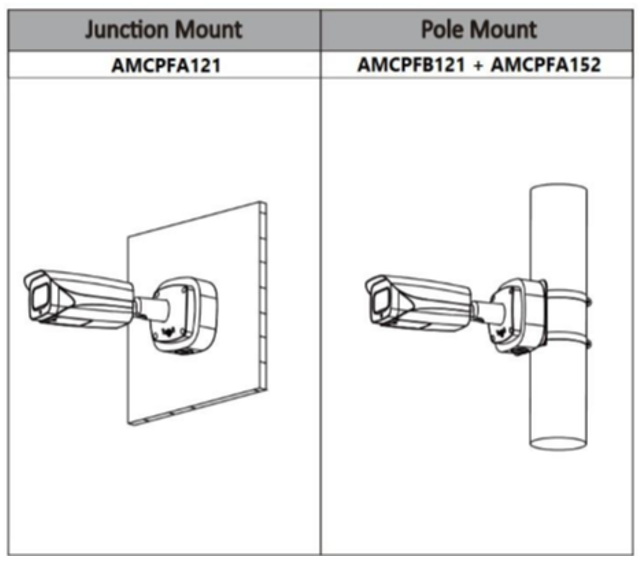
Note: If a junction box or pole mount is needed for the installation of your device the camera is compatible with an AMCPFA121 junction box, or a AMCPFA121 + AMCPFA152 pole mount.
Comments
Please sign in to leave a comment.