Amcrest View Web Access P2P Gateway
Seamlessly connect your Amcrest camera through the internet using Internet Explorer or Safari!
Step 1
Connect the camera to a power supply using the included power adapter.
Step 2
Connect the camera to the internet, either through a wired or WiFi connection. (Can insert links to separate articles covering Wired Desktop Access and WiFi Configuration Setup.)
Step 3
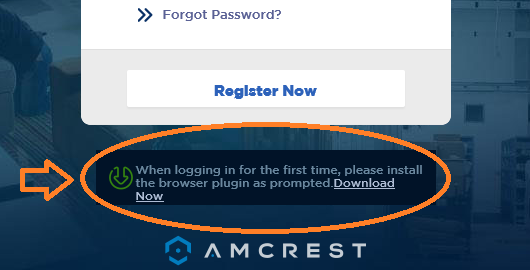
Using Internet Explorer, Firefox, or Safari, go to www.AmcrestView.com and register for an account.
You will be required to activate your account by e-mail (double check your spam folder).

Step 4
Once activated, download and install the plugin for your web browser.
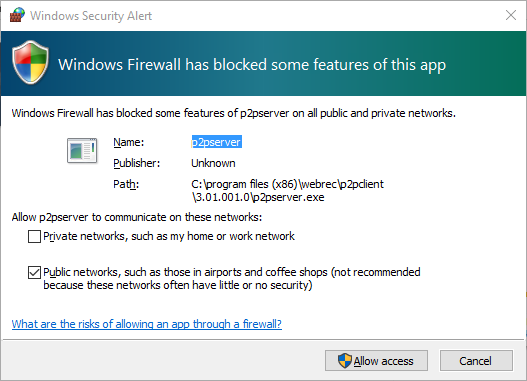
The installation of the plugin will require all web browser to close.

Reopen your web browser and go to, www.AmcrestView.com. Be sure to Allow the plugins on this site for the web interface.
You may be prompted to Allow access of the newly installed plugins on your computer. Be sure to allow “p2pserver” access.
Step 5
Log into your account.
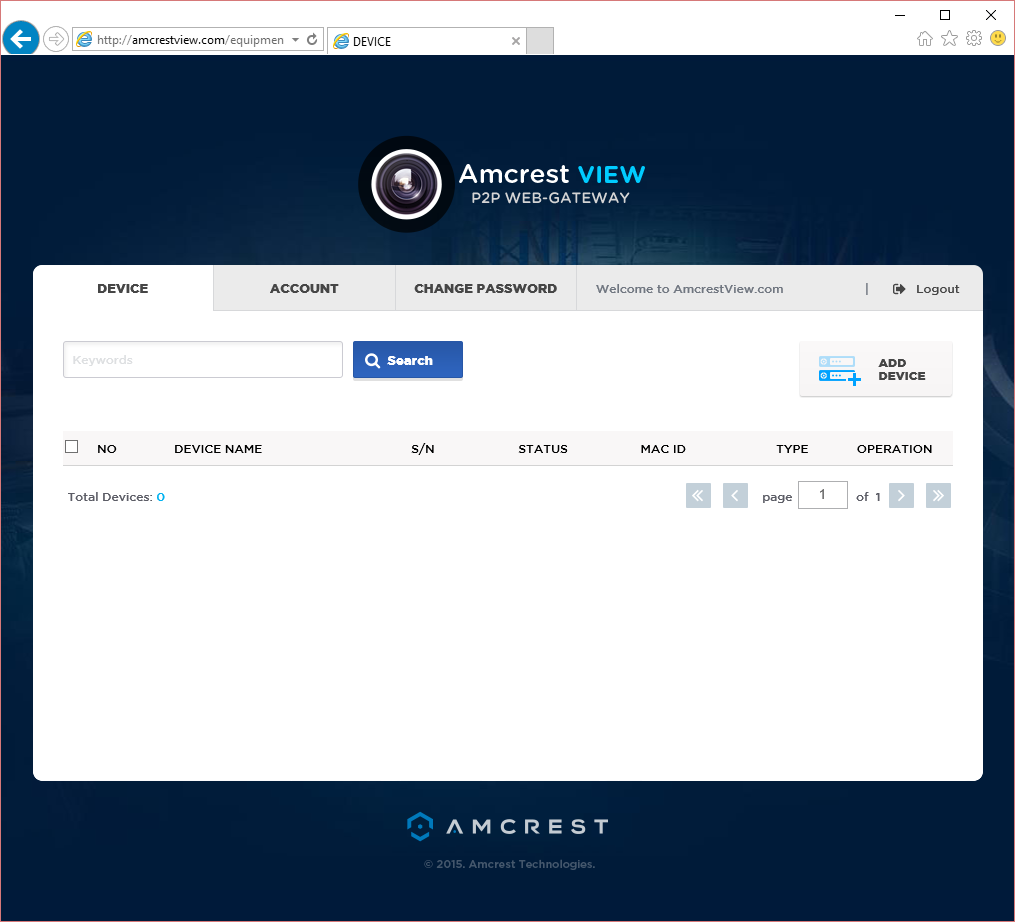
To add your camera, click the “Add Device” button.
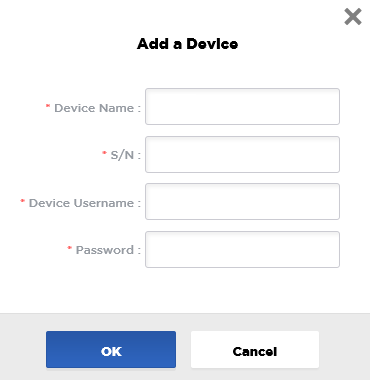
Give the camera a name, enter the S/N (found on the bottom of your camera), then enter the login details for the camera. Note: The default username and password for the camera is admin.
Step 6
Once added, the camera should appear in the device list. Click the (eye.png) icon next to the camera’s S/N to open the live view and playback interface. Make sure pop-ups are not blocked for this website. Pop-up blockers may cause the interface to not open.

Be sure to allow plugins once more for the interface to function correctly.

Step 7
Click the camera name in the list on the right to enable it.

The camera should now be successfully set up for live viewing and playback!
Comments
Please sign in to leave a comment.