How To Perform A Factory Reset
The actual reset process on these models requires opening the camera and getting to mother board. The reset switch will be off to the side.
Note: Prior to performing a physical, hard factory reset, it is recommended to first perform a reset via the web user interface (Web UI) of the camera on a computer. This is useful as well if you do not have direct, physical access to your camera. For more information on how to perform a factory reset in the web UI of your camera, click here.
Now let’s get started. Please ensure power is still going into the camera while performing the process.
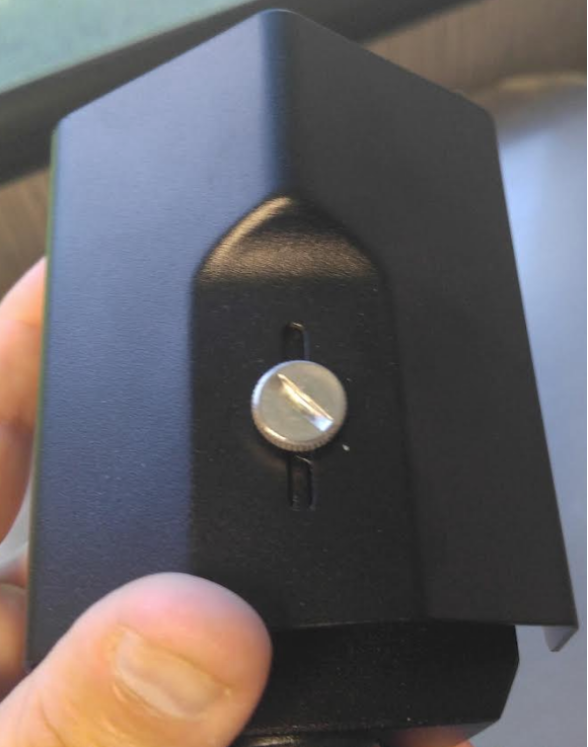
Step 1: Unfasten and remove the top shield of the camera. No necessary but will make the process much easier.
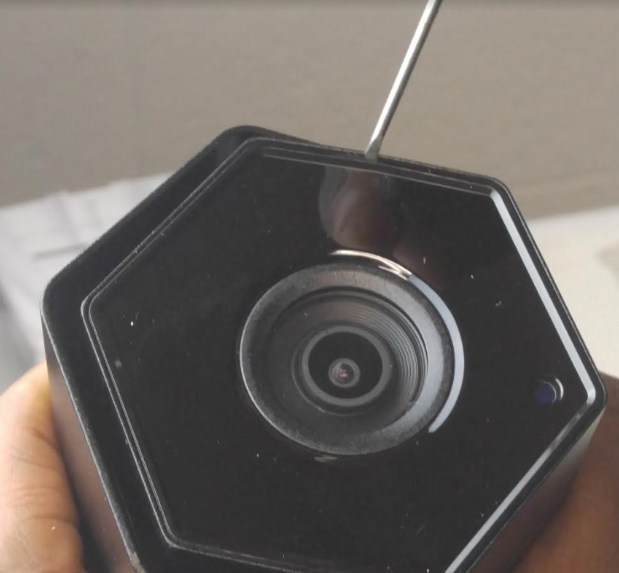
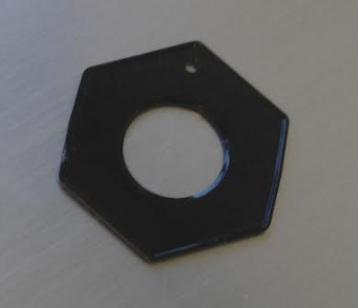
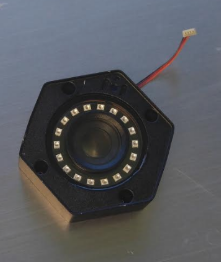
Step 2: Carefully remove the top plastic covering around lens and IR.
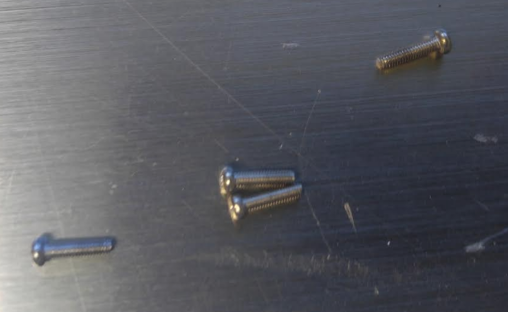
Step 3: Remove the 4 security screws to remove the lid with IR LEDs to expose the camera’s motherboard.
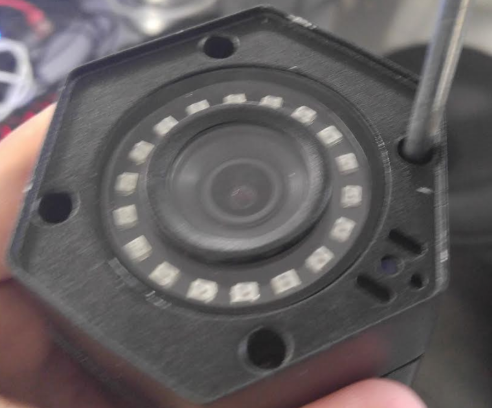
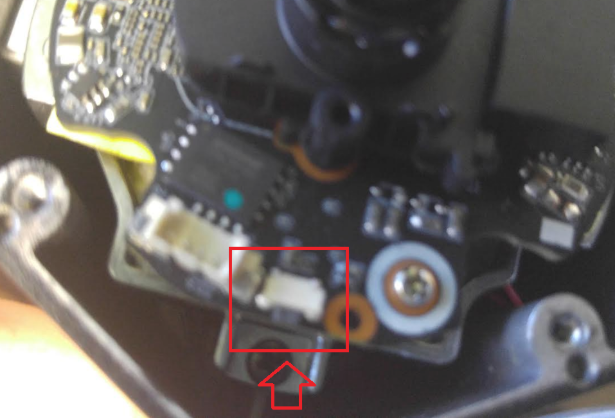
Step 4: Unplug the IR LEDS. Thiis is not completely necessary but recommended.

Step 5: Locate the small factory reset switch on the motherboard The reset switch is by the IR LED plug.

Step 6: Press and hold for about 45 seconds allowing the camera to reset. Once the reset is complete, reassemble the camera.
Note: The username and password and all settings for your camera will return to its factory default settings. The username and password default are both admin.
Comments
Please sign in to leave a comment.